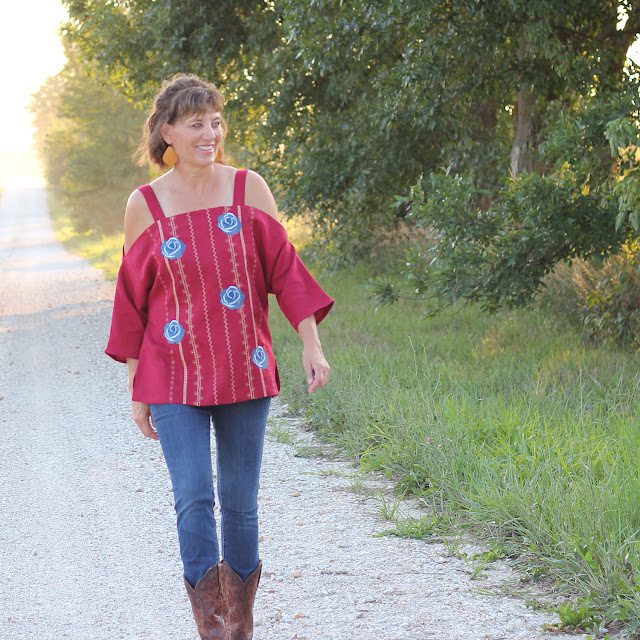
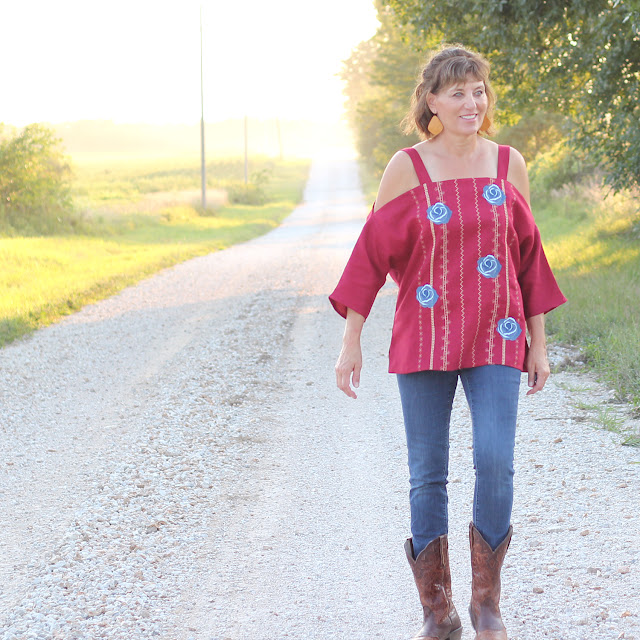
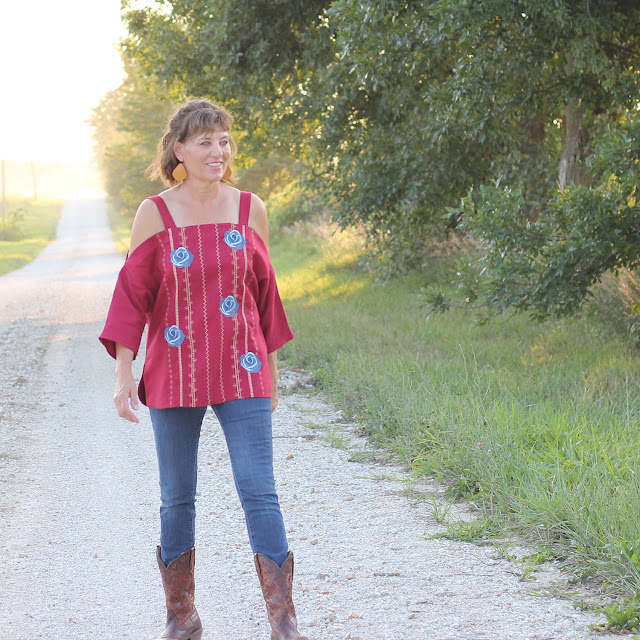
Ready-to-Wear is great inspiration and I was very inspired by RTW for this top and I knew I had my Pfaff Creative Icon to achieve the look
The top is McCall's 7780, description from McCall's site...
Loose-fitting off the shoulder tops have sleeve and length variations.
A, B, D: Shoulder straps.
C: Shoulder ties, shaped hemline, wrong side of fabric will show.
Let's talk about my inspiration, I found a new-to-me site, Johnny Was (a Boho Chic Clothing) It is just so fun, adding such dimension and texture to an item of clothing. Upon finding this site, my mind started racing. I knew with all the capabilities and features of the Pfaff Creative Icon, I could make a garment like my inspiration and it would be so unique to me.
The fabric is linen from Sewing Studio and if you have followed me for long, you know solids are not something I sew very often! After this top, I will be looking at solids more often.
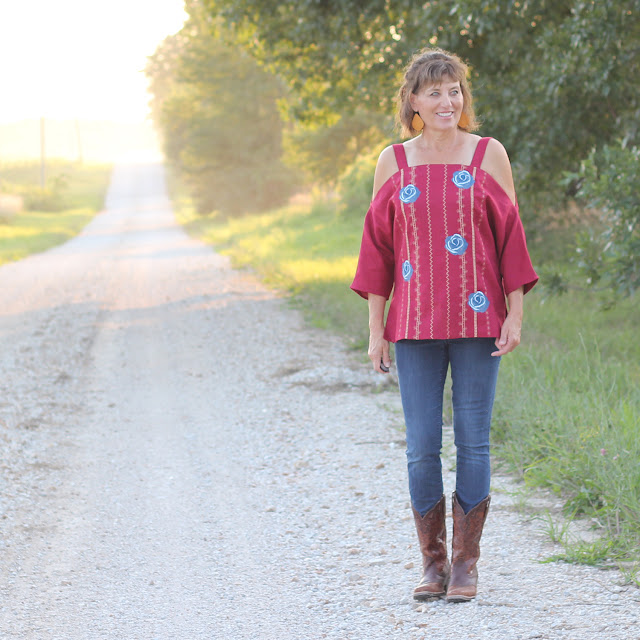
The hemline of this top is so cute, a slit and then the front has sharp corners and the back has a nice curve to the hem.
I have been sewing this top for the last week and putting much of my progress on Instagram Stories. A great suggestion was to put an embroidery on the back, I did just that and put it off center.
I pressed the center front and marked a stitching line with my fusion pen, I did try to keep my lines a bit random widths between them.
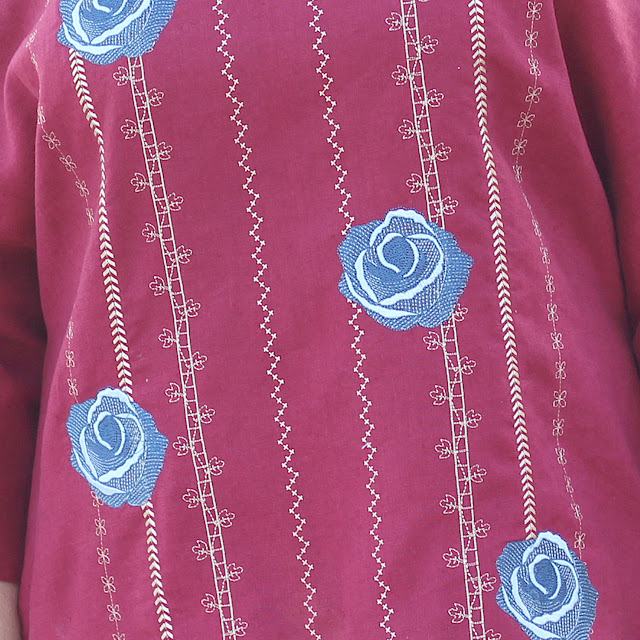
Let's start from left to center front. I went with this decorative stitch, simple and airy.
Now an exclusive Pfaff Creative Icon stitch, the Stacking Stitches, Sew beautiful decorative stitches in two colors. The stacking stitches consist of pairs of stitches that are designed to be sewn on top of each other
Since the stitches are in pairs - I went with 9 and 10, stitching 9 first and 10 next, making sure you start each stitch in the exact same place.
Finally the stitch on each side of center front. All of these stitches were sewn with tear away stabilizer under the fabric.
Now to the embroidery, I used a built in design included with the Premier +2 Embroidery Ultra
The Premier +2 software has so many features, one which is modify. I can modify a design many ways and for this rose, I just didn't want the stem and leaves. This modification was just removing some of the colors. See on the right side? I unchecked the boxes to remove the greens, easy fix and now I have the perfect rose.
Here is the rose......
One thing I was really worried about was rose placement, I sure did not want any of the roses hitting the bust area like a big bullseye! You know what I am talking about, right? My solution was to stitch one rose out and then make copies of it. The importance of the placement, led me to finish the top of the neckline, finish the arm sleeves, including straps. The side seams were basted, so I could embroidery the roses easier without the sides seams completed.
I went through several layouts and posted several possibilities on my Instagram Stories. I did try on my top to make certain about placements. After that, I did leave the roses pinned on until I was ready to stitch that rose.
Here is another colorway for the rose, but I really didn't like it, too close to the decorative stitches.
This pattern design is unique and not one you really want to move your arms too much. The entire top moves with you when you move your arms. It is a going out, fun and unique top. I have to tell you, I love this top so much. I find the design unique and my added design features make it one-of-a-kind.
I have had machines with decorative stitches and did a bit but not to the fullest. I am having the best time exploring all the options with my Creative Icon
Like my new boots? I just got them about a month ago and thought they would be fun to wear with this outfit.
Do you have any ideas for decorative stitches?







I love it! Your entire look is awesome! Boots are adorable, as well as earrings.
ReplyDeleteI love everything about this outfit!
ReplyDeleteWow! You're really having fun with your new Icon - so jealous! Karen
ReplyDeleteI love the decorative stitches on my machine! I did rows and rows of my favorites in matching thread down the back panel of a denim jacket. Keep playing, you will find many places to use these stitches.
ReplyDeleteThe outfit is so on point. I love the rose embroidery on it!
ReplyDelete